DIY Mosaic Christmas Tree
Affiliate links may be used in this post. As an Amazon Associate I earn from qualifying purchases. Read the full disclosure policy here
Combine the love of mosaics with pebble art to make this DIY Mosaic Christmas Tree. Pebble art is so easy and fun and adding a little whimsy to mosaic glass gives you the freedom to abstractly design a lovely addition to your homemade Christmas decor.

This Mosaic Christmas Tree is a great way to use scraps of mosaic glass and is easy to make and fun to decorate!
How To Make Mosaic Christmas Tree
Materials
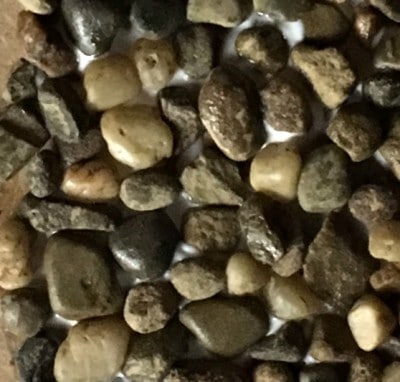
Small or miniature pebbles
Quality Craft glue
6″ by 6″ square of particle board or wood for square
5″ by 7″ plexiglass sheet for rectangle
Dollar Store jewelry crystals, beads, buttons, pearls
Red cord for bow
Mosaic glass for background, a grab bag of assorted tiles works well
Grout (Delorean Gray is always a good neutral choice)
Directions
- While this may seem counter intuitive, I found the easiest way to mix media such as pebbles and glass is to mak the mosaic base first and then add the pebble Christmas tree.
- Decide upon the size of the base. This is your choice. Mosaic glass can be applied to wood, particle board or acrylic sheet for this project.
- This tree can be as large or as small as desired. For this project I used a 6″ by 6″ wood scrap as the base.
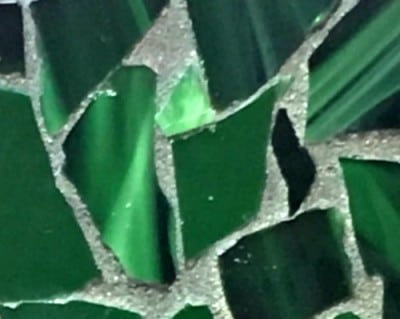
- Apply the mosaic glass in an abstract pattern, glue and grout. For the Mosaic Christmas Tree I used green scrap glass pieces.

- Mosaic Tip! Pre mixed grout is a huge timesaver.
- Let the mosaic background dry for 24 hours.
- After the background has dried lay out the pebbles on a paper plate.
- With the glue sketch out the outline of a tree. This is easily done freehand.
- Fill the inside of the tree with a heavy application of glue.
- Fill the tree with pebbles.
- Move the pebbles together so there are no spaces between the pebbles.

- Decorate! Decorate the Mosaic Christmas Tree with small pieces of mosaic glass, pearls, jewels, beads to the design of your choice.

- Add the star or red bow at the top of the tree.
- Let dry for 24 hours.
- Optional: Finish the back of the Christmas tree by painting with acrylic paint.
- This leaves a smooth finish and hides any leftover grouting smudges.
- The mosaic tile can be displayed by placing in an easel stand or mini wooden tripod stand.

More Christmas DIY Ideas
Pebble Art Christmas Ornaments
Edible Christmas Tree Centerpiece